How to Apply Wallpaper Primer for a Smooth, Long-Lasting Finish
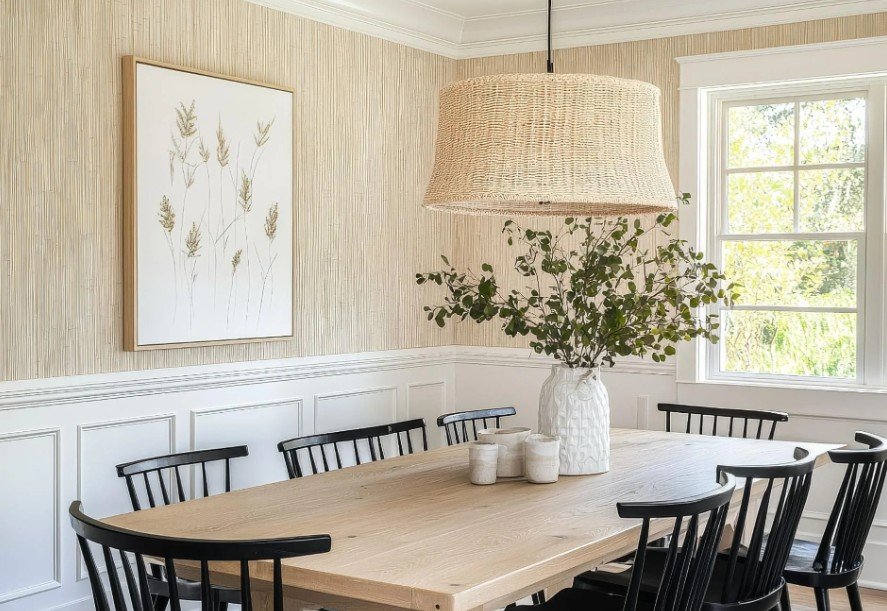
Applying a dedicated ROMAN wallpaper primer is the single most effective step you can take to prevent bubbling, peeling seams, and drywall damage during installation and future removal. While many DIY decorators focus heavily on paste selection or pattern matching, professional paperhangers know that wall preparation dictates final results. Skipping primer creates uneven paste absorption, allows dark wall stains to bleed through light paper, and causes adhesives to bond permanently to bare drywall paper. Proper priming builds a solid, uniform shield that ensures your wallpaper lays flat, adheres tightly, and removes cleanly years down the road.
Why Wallpaper Primer Is Non-Negotiable for Wall Preparation
Wallpaper primer creates a non-porous, uniform foundation that standard interior wall paint cannot replicate. Regular latex paint absorbs moisture unpredictably, which starves wallpaper paste of the hydration it needs to cure correctly.
When you coat your walls with a true wallpaper primer, you seal porous drywall, joint compound, and existing paint layers. This moisture barrier prevents liquid paste from soaking into the wall board, giving you adequate open time to slide wallpaper panels into place and align intricate pattern matches perfectly.
Specialized primers also block stubborn stains, ink marks, and underlying paint colors from showing through light-colored or thin non-woven wallcoverings. This barrier ensures that the color you selected in the showroom remains true once installed on your wall.
Patching Surface Defects for a Flawless Foundation
Primer seals walls, but it does not hide physical bumps, nail holes, or deep texture variations. Any imperfection left on the drywall will telegraph through thin wallcoverings once the paste pulls the paper tight against the surface.
Inspect your walls with a work light held at an angle to highlight minor dents and ridged joint lines. Fill holes and gouges with lightweight joint compound using a putty knife, feathering the edges smooth against the surrounding wall.
Allow the spackle to dry completely according to manufacturer instructions, then sand the patched areas smooth with fine-grit sandpaper. Wipe away all residual drywall dust using a damp microfiber cloth, as loose powder prevents primer from bonding to the surface.
Managing Drying Times and Environmental Conditions
Patience during the drying phase determines whether your wallpaper adheres securely or lifts at the seams. Rushing installation over wet or tacky primer compromises the adhesive bond and can trap moisture behind the paper.
Environmental conditions directly affect how quickly primer cures. Aim for room temperatures between 60 and 80 degrees Fahrenheit with humidity levels below 60 percent. High humidity and low temperatures extend drying times significantly.
Most high-quality acrylic primers dry to the touch within two hours, but wallcoverings should not be hung until the coating cures fully. Allow the primer to dry for a minimum of 24 hours before applying paste or hanging pre-pasted papers, ensuring the moisture barrier reaches full structural strength.
Troubleshooting Common Priming Problems
Even straightforward painting tasks can encounter issues if environmental conditions or wall prep are neglected. Addressing problems early keeps your project on track for a smooth finish.
If the primer beads up or separates when applied, the underlying wall surface likely contains grease, oil, or high-gloss sheen. Stop application, let the area dry, sand the surface with medium-grit sandpaper to create texture, wash with a degreaser, and reapply.
If you spot flashing, where some areas look dull while others look glossy, your wall had uneven porosity from unsanded spackle patches. Apply a second uniform coat of primer over the entire wall to build a solid, consistent finish before hanging your paper.
Conclusion
Mastering wallpaper primer application transforms an ordinary decorating project into a durable, professional installation. Taking the time to patch wall defects, select the correct primer formula, and apply smooth, uniform coats protects your drywall investment while ensuring flawless wallpaper adhesion. The non-porous barrier created by quality primer prevents frustrating air bubbles, keeps pattern seams tight, and eliminates dark color bleed-through. When you eventually decide to update your room decor, proper priming ensures your wallpaper strips off cleanly without tearing underlying drywall paper, leaving your walls ready for their next design evolution.